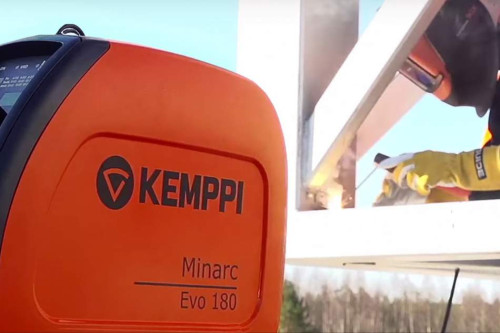
How does a welding machine work and how to use it on a construction site?

Welding is one of the basic jobs in the construction industry, which involves joining metals by melting them together. To perform this task, you need a welding machine. Are you thinking about renting such equipment for your project? Check out how a welding machine works and how to use it on a construction site.
The welder works by creating an electric arc between the base metal and the electrode. This arc generates intense heat that melts metal surfaces, allowing them to melt. A welder consists of several key components, including a power source, an electrode holder and a ground terminal.
How to use the welding machine?
1. Safety first
Before starting work, make sure you have the necessary protective equipment, including a welding visor, welding gloves and flame-resistant clothing. Clear the work area of flammable materials and ensure adequate ventilation.
2 Configure the automatic welding machine
Connect the power source to an electrical outlet or generator. Make sure the machine is properly grounded by attaching a grounding clamp to the workpiece or a suitable grounding point.
3. Select the appropriate welding mode
Different processes, such as shielded metal electrode welding (SMAW) or gas metal electrode welding (GMAW), require specific welder settings. Refer to the machine's instruction manual to choose the right mode for your job.
4. Prepare the workpiece
Clean the metal surfaces to be welded, removing dirt, rust or paint. Properly align the parts to ensure a secure connection.
5. Adjust welding parameters
Set the desired voltage and amperage depending on the thickness of the material and the welding process. Refer to the welding parameter charts provided by the device manufacturer for guidance.
6. Arc ignition
After all safety precautions have been taken, set the welding torch to the starting point. Press the trigger or switch to initiate the arc. Maintain a stable arc length for optimum welding performance.
7. Welding technique
Move the torch steadily along the joint, following the welding procedure specified for your project. Ensure adequate penetration and melting of metals by maintaining a constant feed rate and electrode angle.
8. Add additional material
In some welding processes, it is necessary to feed the wire or rod manually. Adjust the wire feeding speed according to the welding speed and the requirements of the joint.
9. Monitor the weld
Regularly check the quality of the weld to ensure proper fusion and penetration. Adjust welding parameters if necessary.
10. After welding
Allow the weld to cool naturally. Clean off any slag or spatter generated during the welding process.